How to use Luminar
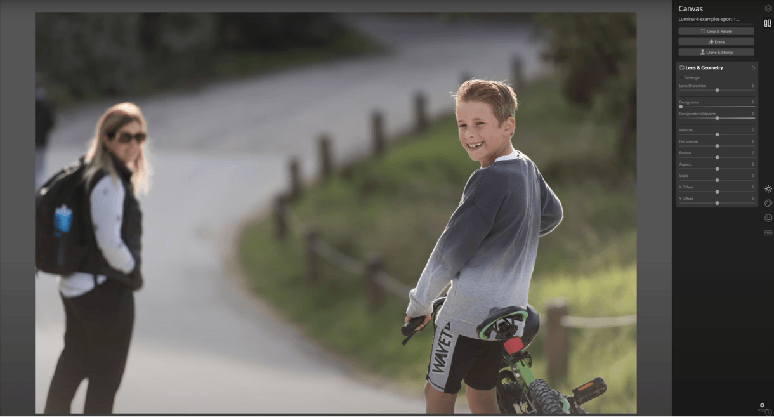
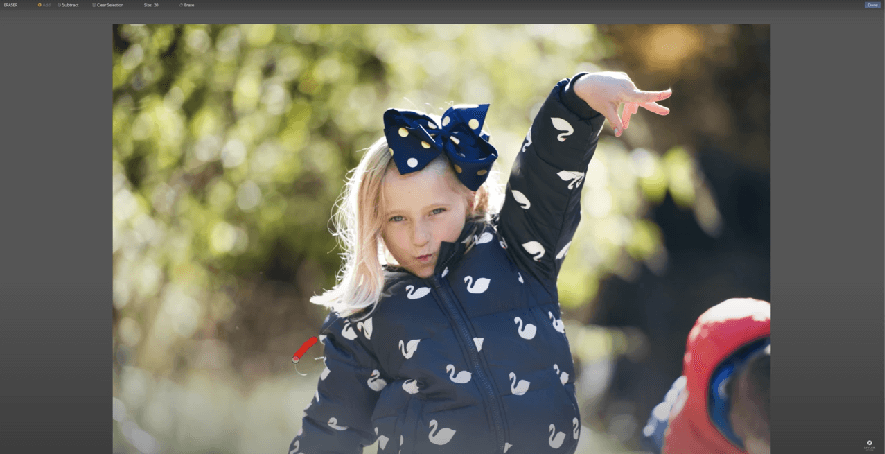
To make a truly compelling image, sometimes you need to remove things from your frame. Luminar has some really great tools to help you remove unwanted objects from your photos.
The Crop tool, Erase tool and Clone & Stamp tool can be used to remove and replace unwanted objects in your photos.
Using the Crop Tool in Luminar
The Crop tool is the most simple to use. To use this, all you have to do is follow these straightforward steps.
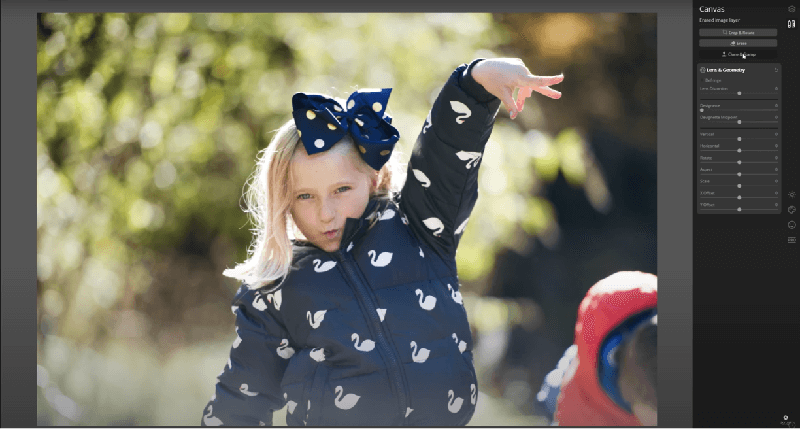
1. Find the Crop & Rotate tool.
2. Grab a corner handle and drag that in. The original aspect ratio will stay consistent.
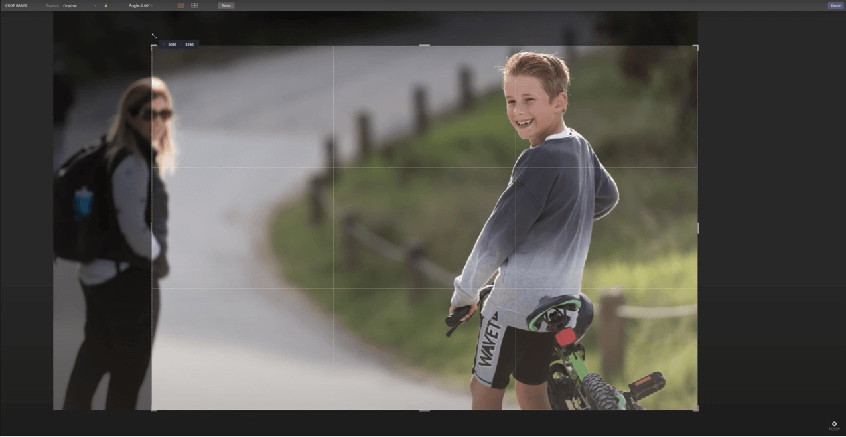
3. You can now click and drag the frame to where you want to it to be. Hint: use the grid that splits the photo into thirds. This way you can position points of interests on those third lines.
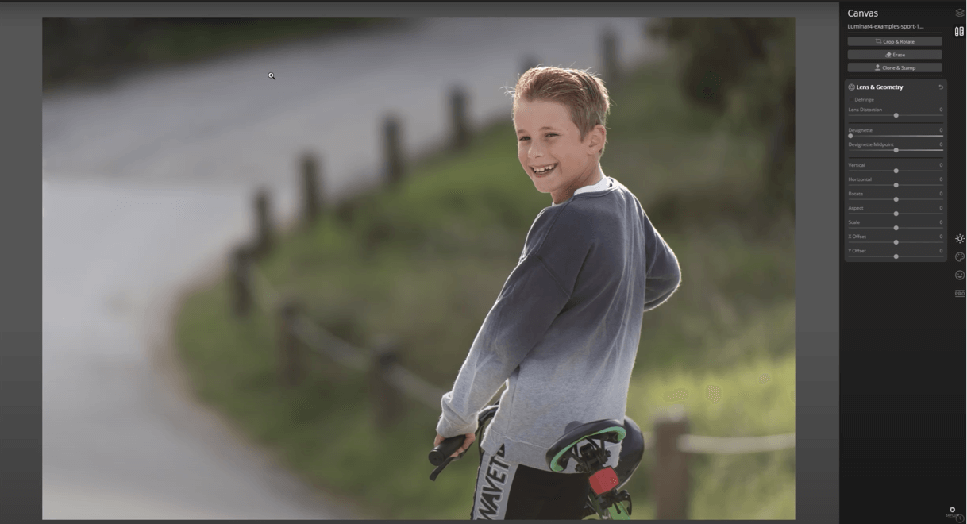
4. Click on Done. Congrats! You’ve just removed something unwanted from your photograph.
Now, let’s have a look at the two tools dedicated to removing unwanted items from your photos.
Using the Erase Tool in Luminar
1. Go to the Canvas tab and from there click on Erase.
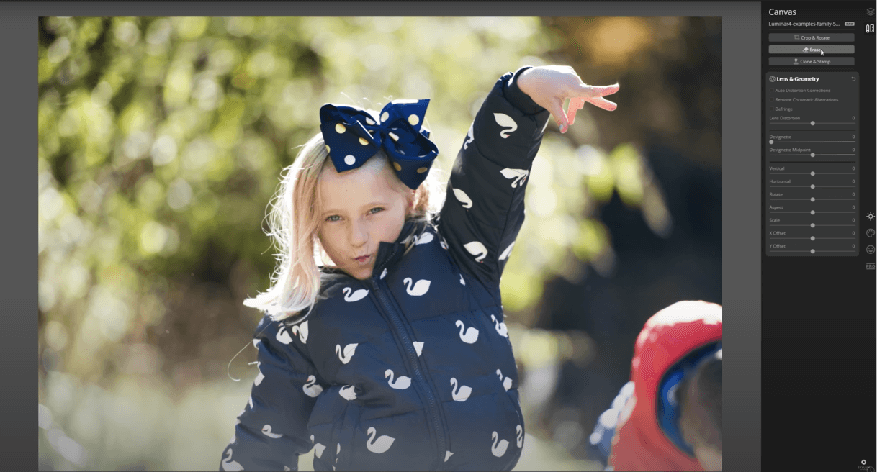
2. You can now use the Erase tool to paint over the areas that you don’t want with the brush.
3. Click on Done.
Next, let’s have a look at the Clone & Stamp tool. This tool allows you basically to clone or copy an area and paste it somewhere else.
Using the Clone & Stamp Tool in Luminar
1. Go to the Canvas tab and from there click on Clone & Stamp.
2. Click on the area that you want to copy, move to the area with the unwanted object and simply start painting.
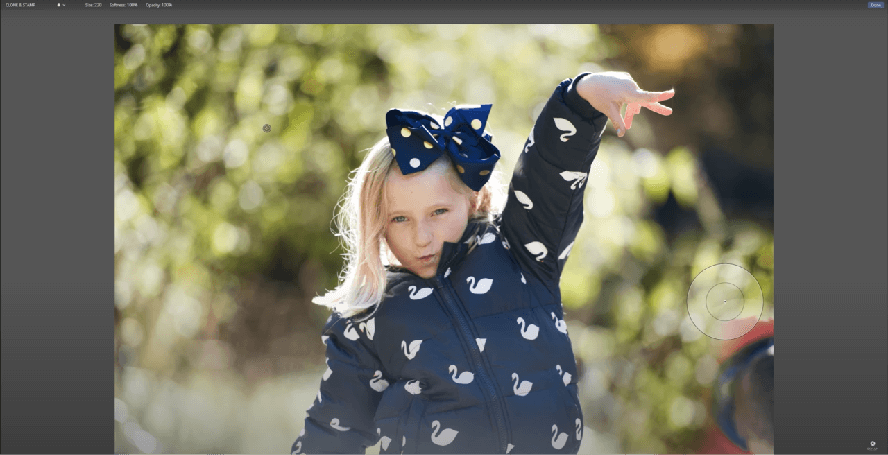
3. You can use your bracket keys to increase or decrease the size of the brush.
4. If you want to change your sample point, you can just click the source again.
5. Click on Done and Luminar will apply that cloning to the layer.
In the perfect world, the photo will be exactly as you wanted. Unfortunately, things don’t always pan out like that at the time of capture. These tools are powerful ways to finesse your photography and get the end result that you’re happy with.
By employing artificial intelligence (AI), Luminar simplifies intricate editing tasks and all only for a one-off payment which includes any ongoing updates. That being said, if you prefer more control over the editing process, you can still take total control.
It’s one of the most intuitive photo editing tools available on the market thanks to its functional, sleek interface. What’s more, it also offers a long list of exclusive features that include presets (called Looks), batch processing, advanced masking, and adjustable gradient.
How to add skies to Luminar
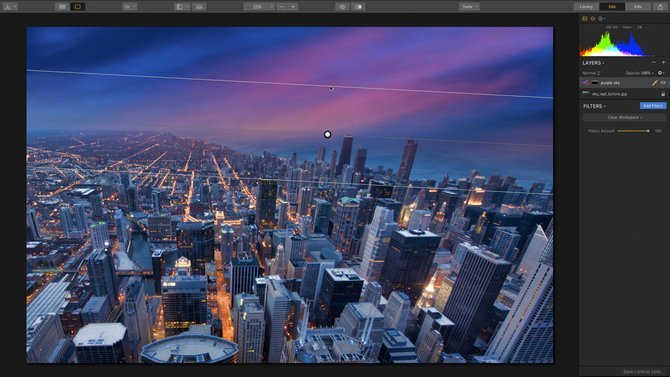
One feature that has to be highlighted is its AI Sky Replacement feature. In a nutshell, this feature lets you replace the sky in the click of a button to create an much improved, but still realistic-looking, sky.
If you mostly work with portraits, you will love the AI skin and portrait tools. When working on photo retouching, especially face enhancements, most photo editing tools have a steep learning curve. Though, Luminar lets you easily blend your strokes and ultimately lets you enjoy much better control.
Luminar also offers excellent photo management features. With the help of shortcuts, you can easily navigate your library to sort your photos. You can also organize your photos via folders that connect directly to the folders on your hard drive.
 Previous Post
 Next Post