Mountain Photography
Each mountain peak on Earth can tell a variety of stories, depending on your vantage point. As a photographer, snapping images of your favorite peak or somewhere new doesn’t have to be challenging, if you follow a few simple tips like those mentioned below. These tips come from professional photographers who know a lot about taking outdoor landscape photography.
Photographer Toma Bonciu, who’s known as Photo Tom on YouTube, offers a 10-minute video offering nine tips and rules you can use to shoot more powerful landscape photographs. Many of these tips are ideally suited for taking photos of mountains
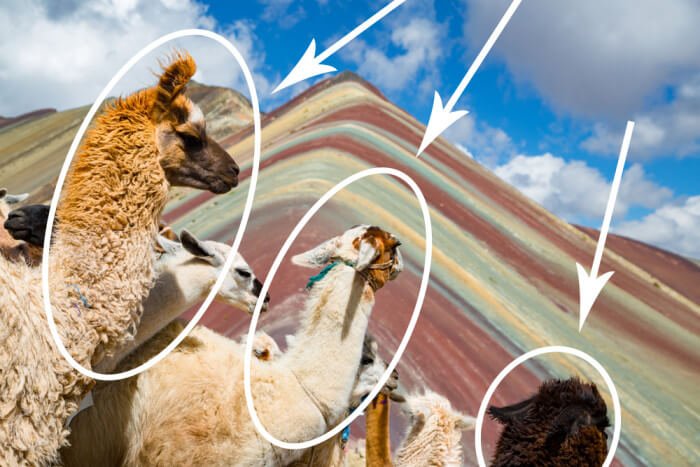
Among these are adding depth, identifying color spots, and negative space.
Tip #1
The Nine Equal Parts
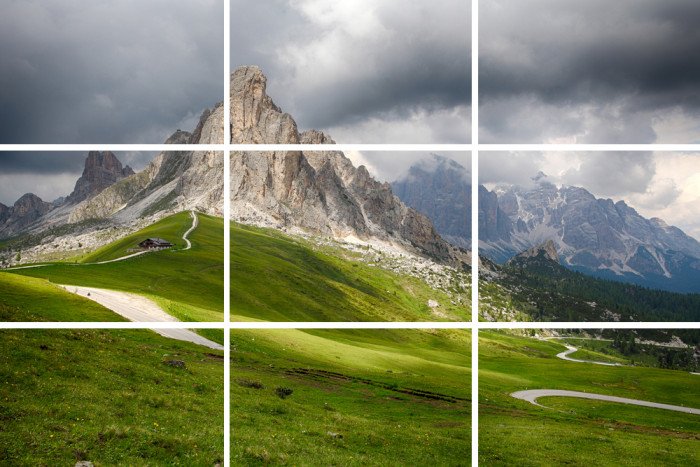
Meanwhile, self-taught photographer Jonathan Griffith of Alpine Exposures suggests remembering the rule of thirds, which is sometimes called the rule of thumb.
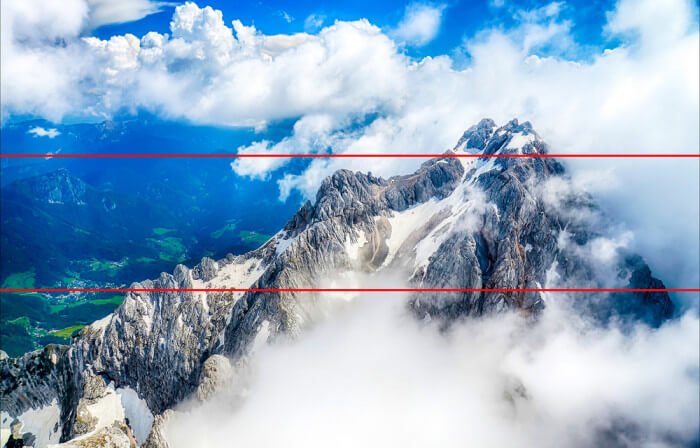
The guideline says to imagine an image as divided into nine equal parts by two equally spaced horizontal lines and two evenly spaced vertical lines. Those who support the technique claim that aligning a subject with these points creates more tension, energy, and interest in the composition.
As he explains, “Nowadays digital cameras can help you out a bit, and you can select to always see a ‘thirds grid view’ on your viewfinder- try it it will make all the difference. It will also help you keep that horizon straight.”
The photographer also suggests placing a high value on sharpness and the so-called depth of field.
Tip #2
The Depth
As Griffith explains, the latter is easier to understand when you think of it as a depth of focus, or the ability to have all the image in or out of focuses. He stresses: “Don’t panic, 99 percent of your shots are always going to be fully focused across the whole image.
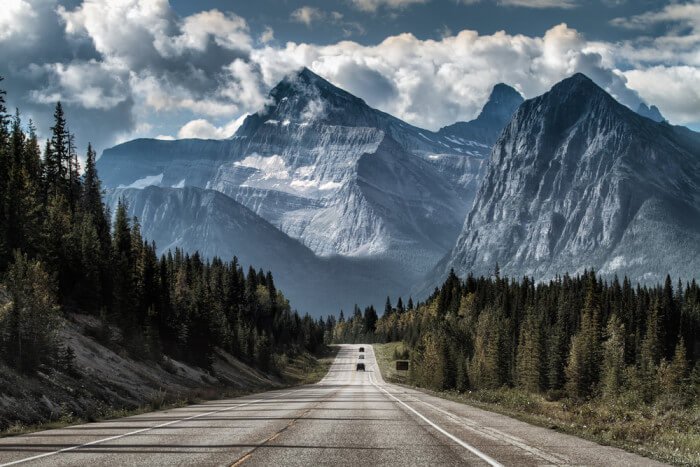
Over at Ruby, a blog for Virgin Atlantic, one contributor suggests to shoot mountains with a telephoto lens and add foreground objects for depth. Using a filter also comes recommended.
Another suggestion: to shoot at the beginning or end of the day.
Tip #3
The Background Scene
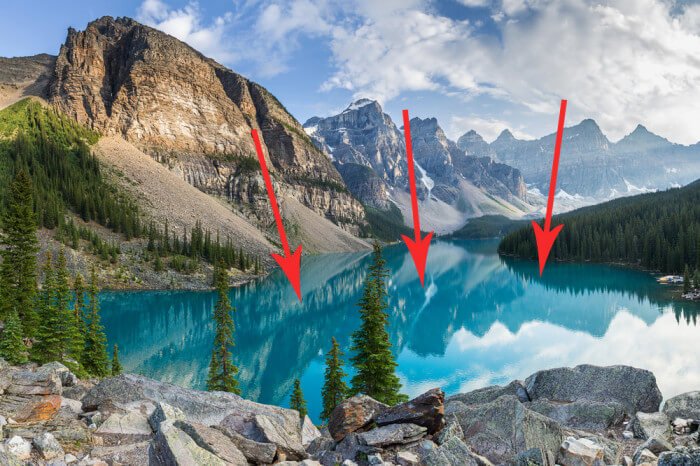
Reed Hoffmann, writing for Nikon USA, suggests using mountains as a backdrop on your scene. “That helps gives some context to the main subject (which is in the foreground). Whatever it is, though, the mountains add not just another interesting visual element, but some sense of location and scale as well,” the photograph explains.
They also suggest adding reflections, when applicable, and trying to snap images from the top, like from a ski lift or gondola.
Tip #4
The Effect of Drama
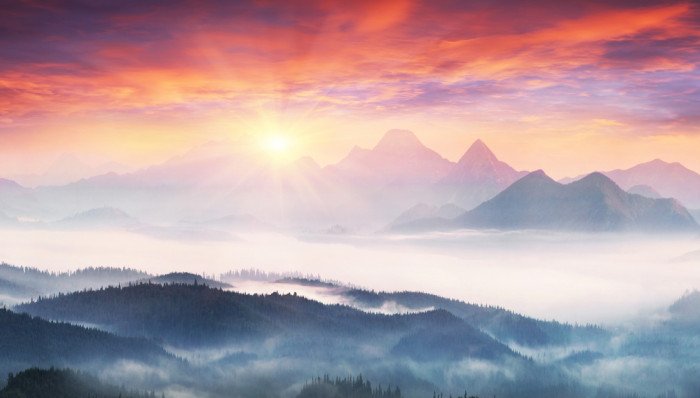
Among his tips, David Peterson, writing for Digital Photo Secrets, says to add clouds to your images to add some powerful drama.
“It’s no different when you’re up in the mountains. For some of the best mountain pictures, I like to get up above the fog and use it to frame the shot,” Peterson explains.
Tip #5
The Contrast of Size
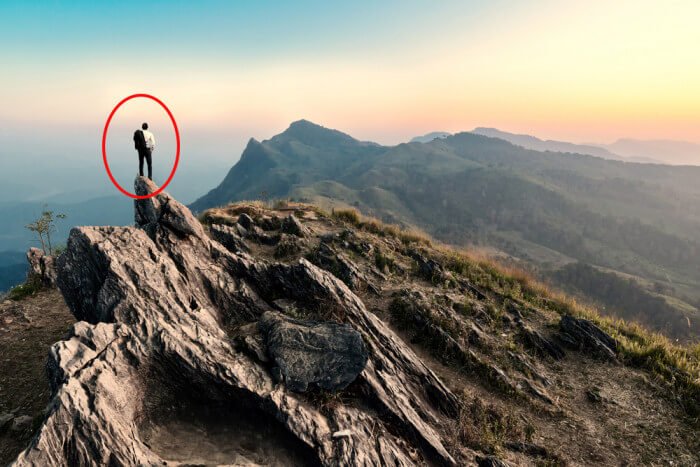
What’s the most significant thing about a mountain? It’s enormity, of course. Therefore, he also suggests putting people in the front of mountain shoots. In doing so, it “gives you a sense of how big the mountains are. People are the ideal foreground subject for taking pictures of mountains.”
Tip #6
The Human Element
Finally, we add some words of advice from Florian Konrad, who has years of experience hiking the Alps and the Himalayas. He believes creating beautiful landscapes by being authentic and always including a person in the frame.
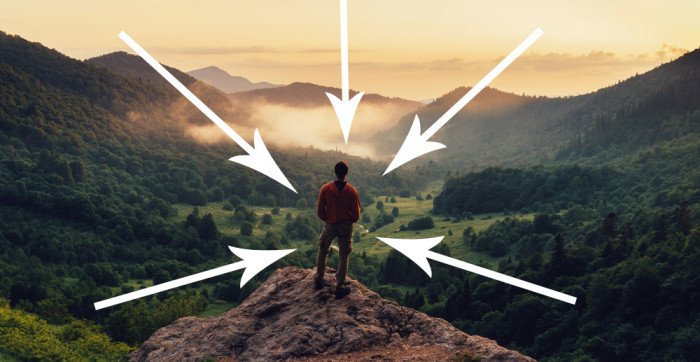
“I really like trying to get shots of my friends without them noticing. But sometimes I see an angle or perspective that would pass too fast and I ask them to hold still for a short moment,” he explains.
He’s also a fan of the rule of thirds and a small depth of field.
 Previous Post