Aerial Photography Tips and Tricks

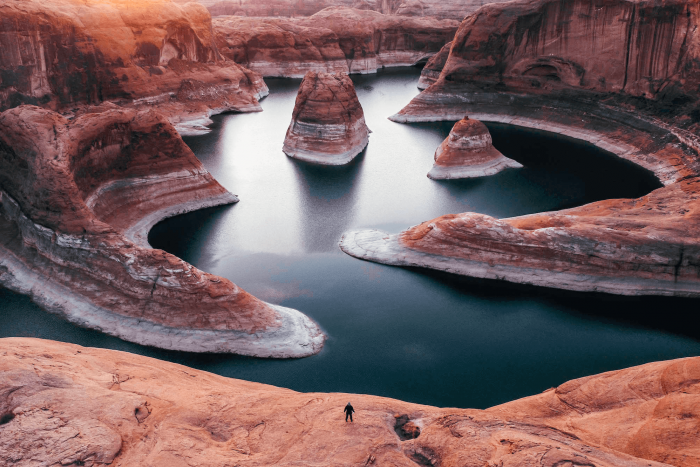
Gary Cummins is a photographer from Toronto who reveals the beauty of landscapes from above with his drone photos of nature and cities. Gary started drone photography over a year ago because of his desire for everything new and evolutionary. “I am forever trying new things with photography and the evolution of drone technology brought something to the table. I want to give a different perspective, to tell a new story,” Gary says.
Gary shared with us tips and secrets on getting started with drone photography.
To see Gary’s amazing work, follow him on Instagram.
Drone photography tips by Gary Cummins
1. Choose a drone with the best camera
When choosing a drone, I wanted the best image quality. Most drones have similar operating methods, so from a beginner’s standpoint it doesn’t really matter which one you choose. If you want the best image and video quality, you should choose the drone with the best camera. For a better experience, choose a drone with a user-friendly UI, high stability to handle strong winds, and an option to take high-resolution images.
Currently, I have a Mavic 2 Pro drone. I recently switched from the Phantom, as the Mavic is a better drone to travel with due to its size.
2. Get prepared
Read your drone’s manual and make sure you know what your drone can and cannot do. It can take a few attempts to get comfortable with operating the drone. Watch tutorials on YouTube and take your time getting used to how it moves and reacts. Safety and care is the number one priority.
3. Learn drone regulations
Before you launch your drone, surf the web for the drone regulations in your country. For example, in the United States, drones weighing between 0.55 and 55 pounds need to be registered with the Federal Aviation Administration (FAA). There are also regulations on where you can’t fly your drone. There are many drone forums where you can find up-to-date information about local drone regulations.

4. Check the UAV forecast
Before going out, check the UAV forecast for your safety. It will tell you about off-limit areas, weather, active GPS satellites within a particular area, and more.
When choosing weather, calm and sunny days are best. This allows safe flying and optimum performance. Avoid flying if there’s any chance of rain, as water and drones don’t get along.
5. Research what you’re going to shoot
I like to research an area and find unique places to shoot. I use Google Earth to scout for unique locations. It has amazing image quality and a search tool for almost the entire planet. Instagram is also great for inspiration.
I try to tell a different story when using my drone. A new angle that hasn’t been seen before is my goal. The whole world opens up when using a drone for photo and video. The possibilities are endless.

6. Consider the scene
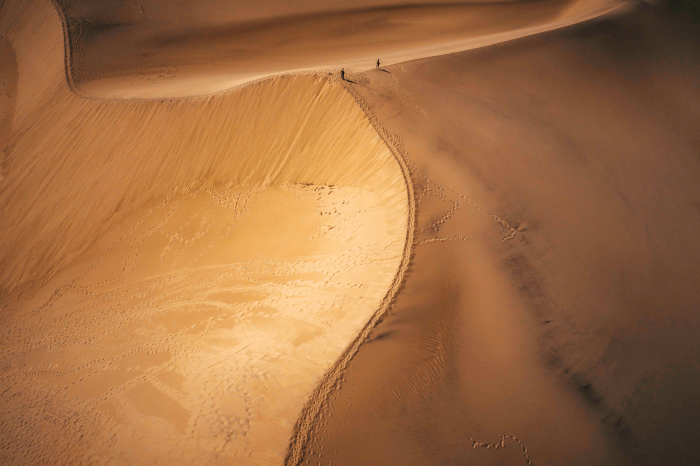
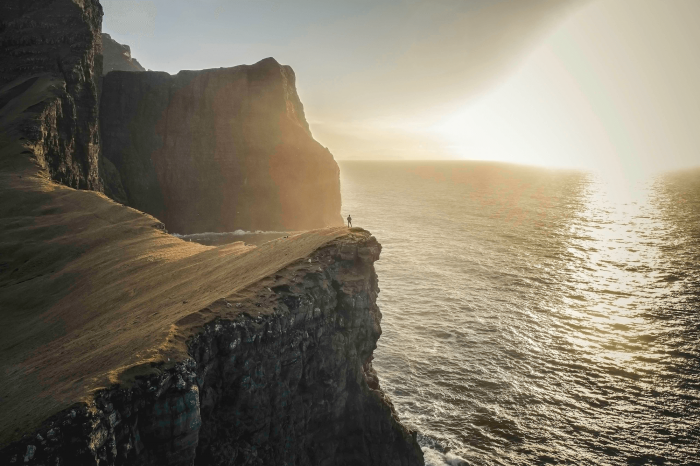
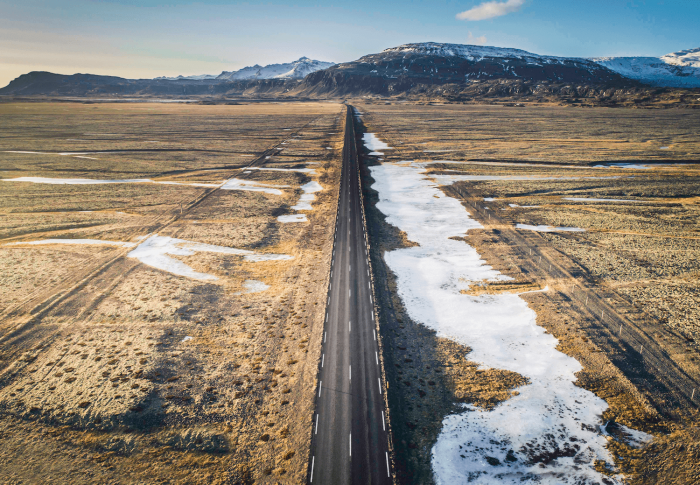
There are many composition techniques you might want to try with your drone: symmetry and patterns, wide-open shots, lines, shadows, and more. For me, it depends on where I’m shooting. Out in nature, I like wide open shots as I want to get as much of the scene as possible. In cities I like lines and different perspectives such as top-down shots, condensing a scene.

7. Shoot RAW
I always shoot RAW and can only recommend that you shoot RAW too. It’s the best way to get the most from your photos. Not only does it offer maximum file size, it also retains more information than JPEG so the ability to recover highlights and shadows is far greater.
8. Shoot to the conditions
Camera settings are as important as composition. Most of today’s drones have an adjustable aperture and shutter speed with variable ISO values. During the daytime, lighting shouldn’t be a problem, so you can stick to the lowest possible ISO. This means you’ll have to manually adjust your camera settings to keep your images properly exposed.
When shooting in windy or shady places, consider opening up your aperture or using a slower shutter speed. It will let in more light and maintain the lowest ISO for clean, sharp images.
The best settings for aerial photos depend on the lighting conditions and where you’re located. Shoot to the conditions and you’ll find what works.

 Previous Post
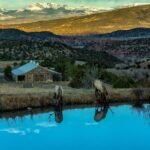 Next Post